Sep 03 2019
At OakTree Apps, we are big fans of open-source projects. It helps us develop beautiful products at a faster pace without reinventing the wheel.
The team initially spend time looking into integrating a WordPress blog into the site. We soon realized that a WP installation would require a CMS to manage the content on the back-end.
After researching a bit, we eventually settled into using Gatsby. And here’s why:
- It is blazing fast as you can see here.
- It is an open-source project and has very solid community support.
- It is a react-based, static site generator, which is a huge benefit over WP as it eliminates the need for having a CMS.
- It uses GraphQL to build the underlying data layer, which means that you can supply gatsby with data from any conceivable source. It can be a markdown, json, xml, third party API integration or a combination of all of them.
So with all that being said, let’s jump right in.
Note: This post uses netlify for deployment. If you haven’t heard of netlify, check them out here!
For this post, we shall use be using this template. For more templates click here.
Now let’s dig through the various folders within the template folder. You should have a folder structure that looks something similar to this:
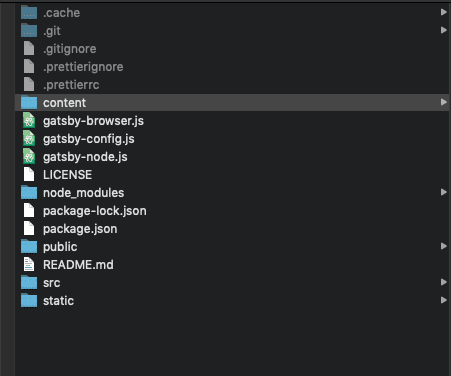
Let’s look at some of the key files within the folder:
The
contentfolder consists of yourblogthe folder which will host your blog(s).The
gatsby-browser.jsfile includes links to the various styling/formatting aspects for your blog. For example, CSS file(s) or any custom fonts that you use.The
gatsby-config.jsincludes the various plugins and any customization to your blog in terms of accessing URLs, static resources, etc.The
srcfolder contains a bunch of different folders as seen in the image: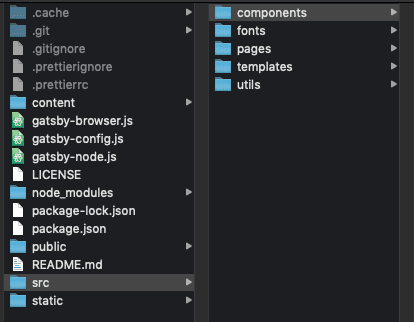
Open the
bio.jsfile in a text editor. Change the default profile picture by locating the following line:avatar: file(absolutePath: { regex: "/profile_picture.png/" })Your profile picture should reside within thecontent/assetsfolder.Open the
gatsby-config.jsfile and change thesiteMetaDatato reflect the appropriate author, title, description, and your social media URLs.
Now navigate to the blog folder and run the following command:
gatsby developOnce the command has been executed successfully, go to yourlocalhost. Your blog should now running on your localhost.We also need to make sure that the blog runs correctly from your website subdirectory. In order to do so, open the
gatsby-config.jsfile and set thepathPrefixoption. You can checkhere for more details.Once the
pathPrefixhas been added, run the following command:gatsby build --prefix-pathsMake sure that the flag is passed or Gatsby will ignore the flag and your blog will not be able to access the static resources.Once the command has been executed successfully, navigate to your
my-blog/publicfolder. Your public folder should look something like this:Create a new folder calledblogwithin your website directory. Copy all the contents of themy-blog/publicfolder intopath/to/website/blogfolder.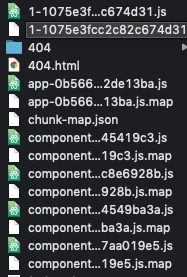
Navigate to your website directory via terminal and run the following command:
netlify deployYou can also drag and drop your website folder into the netlify dashboard for deployment.However, this approach only works for sites which are less than 50MB in size.For sites that are larger, it is recommended to use thenetlify cli, since it provides us with error logs for debugging purposes in case something goes wrong.You might need to download the cli herebefore running the above command.If the
netlify deploycommand has been executed successfully, it will provide you with a Live Draft URL that can be used to view the website. Think of it as a pre-production site.If you are happy with the result, run the following command:netlify deploy --prodto deploy the site to your domain.
In this post, we looked at how to integrate a Gatsby blog to an existing website.
We are a mobile first development agency. Check our website or send us an email at hello@oaktreeapps.com with your thoughts or questions.