Jun 12 2023
Introduction
OakAdmin is a CLI tool that we built internally at OakTree Apps to speed-up our process of making Admin Panels without compromising on quality. As a boilerplate generator, It provides a way to generate a full-blown configurable MERN stack app in seconds.
Setting up a MERN application takes time & requires a lot of repetitive tasks, this tool was our take at optimising just that.
As you’ll see in the following sections, It has capabilities to generate full CRUD API endpoints in backend & responsive pages in the frontend.
This tool proved to be a major help for us, so we decided to open-source OakAdmin so that everyone can optimise their process of generating Admin Panels in MERN.
Key Features
Easy configuration
With OakAdmin, you can define your database fields and other project-specific details in a simple Javascript .cjs file. All config files are type-inferred in the editor giving you detailed auto-completion right in your editor!
Automated Code Generation
By analyzing the configuration files, OakAdmin generates the necessary backend code, including Express.js API endpoints, MongoDB models, and controllers. On the frontend, it creates React components that interact seamlessly with the backend APIs.
Customization and Extensibility
OakAdmin provides flexible enough structure that allows developers to extend and customize the generated code to fit their specific project requirements. You can easily add additional features, modify existing functionality, or integrate with third-party libraries, ensuring your application remains unique and tailored to your needs.
Efficient Development Workflow
By automating the project setup and resource generation, OakAdmin minimizes the time spent on repetitive tasks, allowing developers to focus on core application logic and functionality when creating Admin Panels. It accelerates the development process and empowers developers to deliver faster without sacrificing quality.
Consistency and Best Practices
OakAdmin follows industry best practices and design patterns, ensuring code consistency and maintainability. It encourages separation of concerns, follows RESTful API conventions, and promotes scalable architecture, providing a solid foundation for building a robust Admin Panel.
Code
Let’s say we wanted to generate an Admin Panel for managing posts in my blog. Before OakAdmin, we would’ve spent an hour or so of setting up React.js, A UI library, Routing, etc. for frontend and MongoDB & express.js for backend, after that It would’ve been a few more hours of creating endpoints & screens for the Panel that would contain a Table, A component for creating/editing a resource at the least.
With OakAdmin we can scaffold a new project by just running:
npx oakadmin scaffold admin-panel

This command creates a new folder, downloads the template and installs all the dependencies for React.js & Node.js apps present in webapp & server folders respectively.
Both the projects come setup with installed dependencies however, a .env file is still needed for the server to allow authentication, db connection & s3 uploads (optionally).
Now that it’s all setup, we need to add posts “resource”.
A little heads up! Moving forward throughout the blog post and the CLI itself, we’ve used the keyword “resource” to represent the controller, db schema, backend router/route, frontend route and frontend components associated with a database model (say “users” for instance)
In OakAdmin, resources can be created by adding config files per resource. The addconfig command provides a convenient way to generate basic structure of the config file.
npx oakadmin addconfig posts
The above command will create a config file named posts.cjs in the kitconfig/resources directory.
Here’s how it looks like after generation:
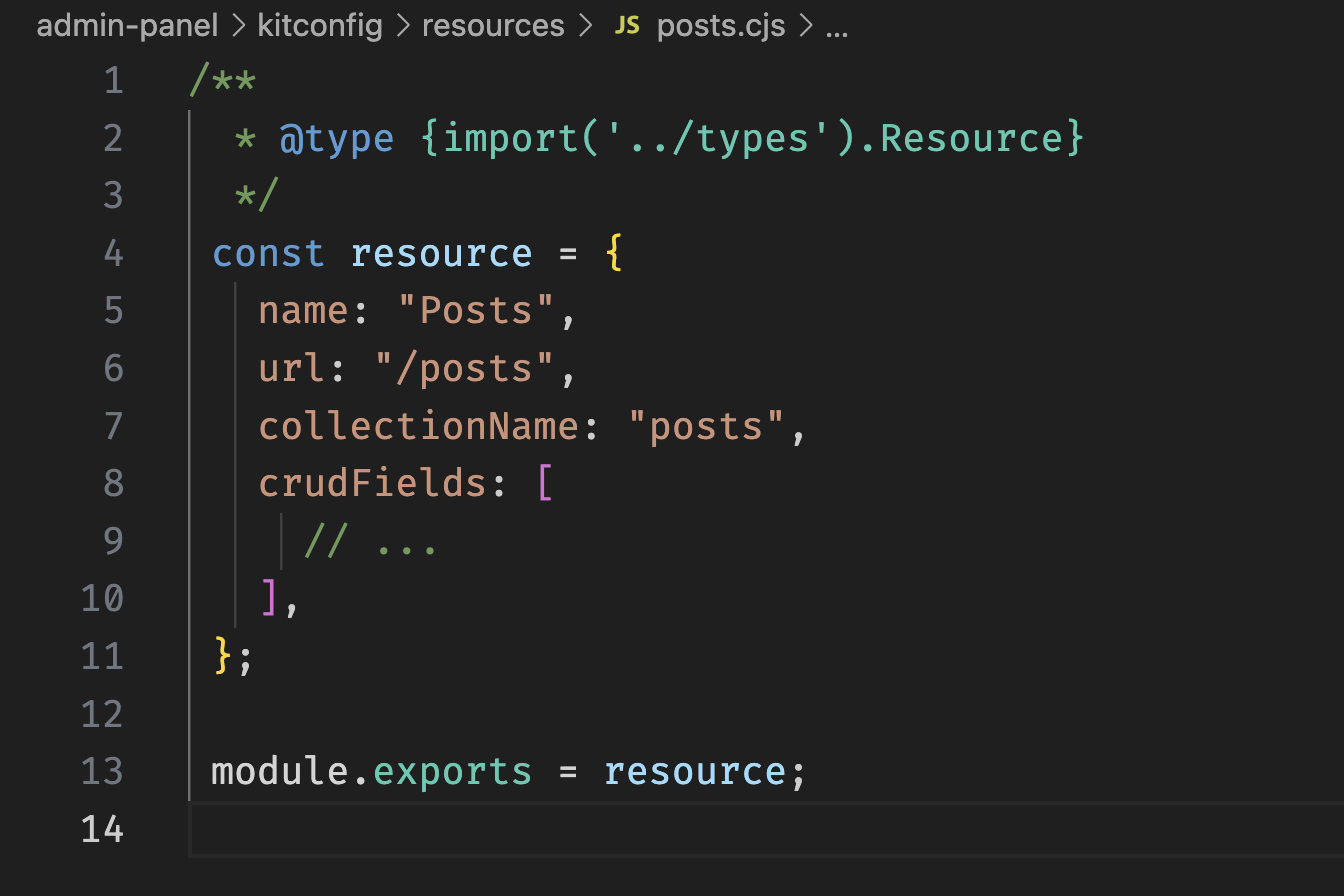
Note that there is a file called students.cjs present in the resources directory, It comes with the template and can be safely deleted. This file was included for reference and contains all the supported fields.
We included a types.d.ts file for in-editor autocompletion while writing resource config files to make creating resources convenient and self-documenting.
Now, we’ll go ahead and define the fields in the crudFields JS array.
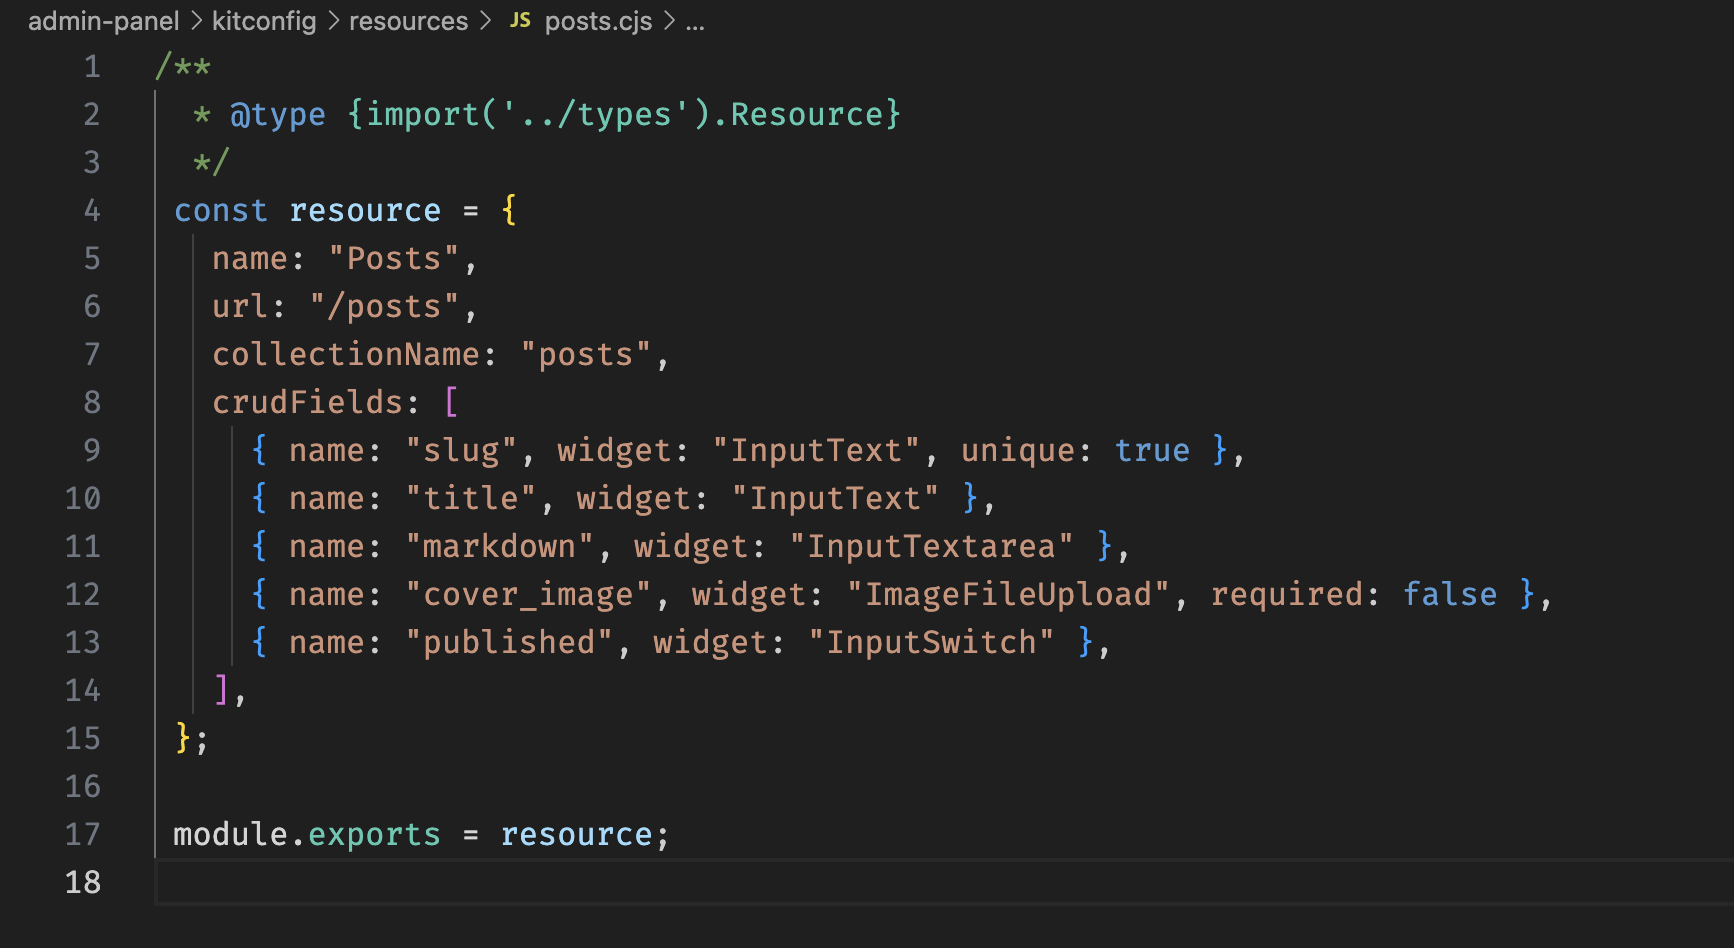
After defining fields, all we need to do is run the below command, select “posts” in the menu & press enter
npx oakadmin add
Optionally, the command below can also be used
npx oakadmin add --all
This will skip the step where a menu is presented to select which resources to add and adds all of the resources present in kitconfig.
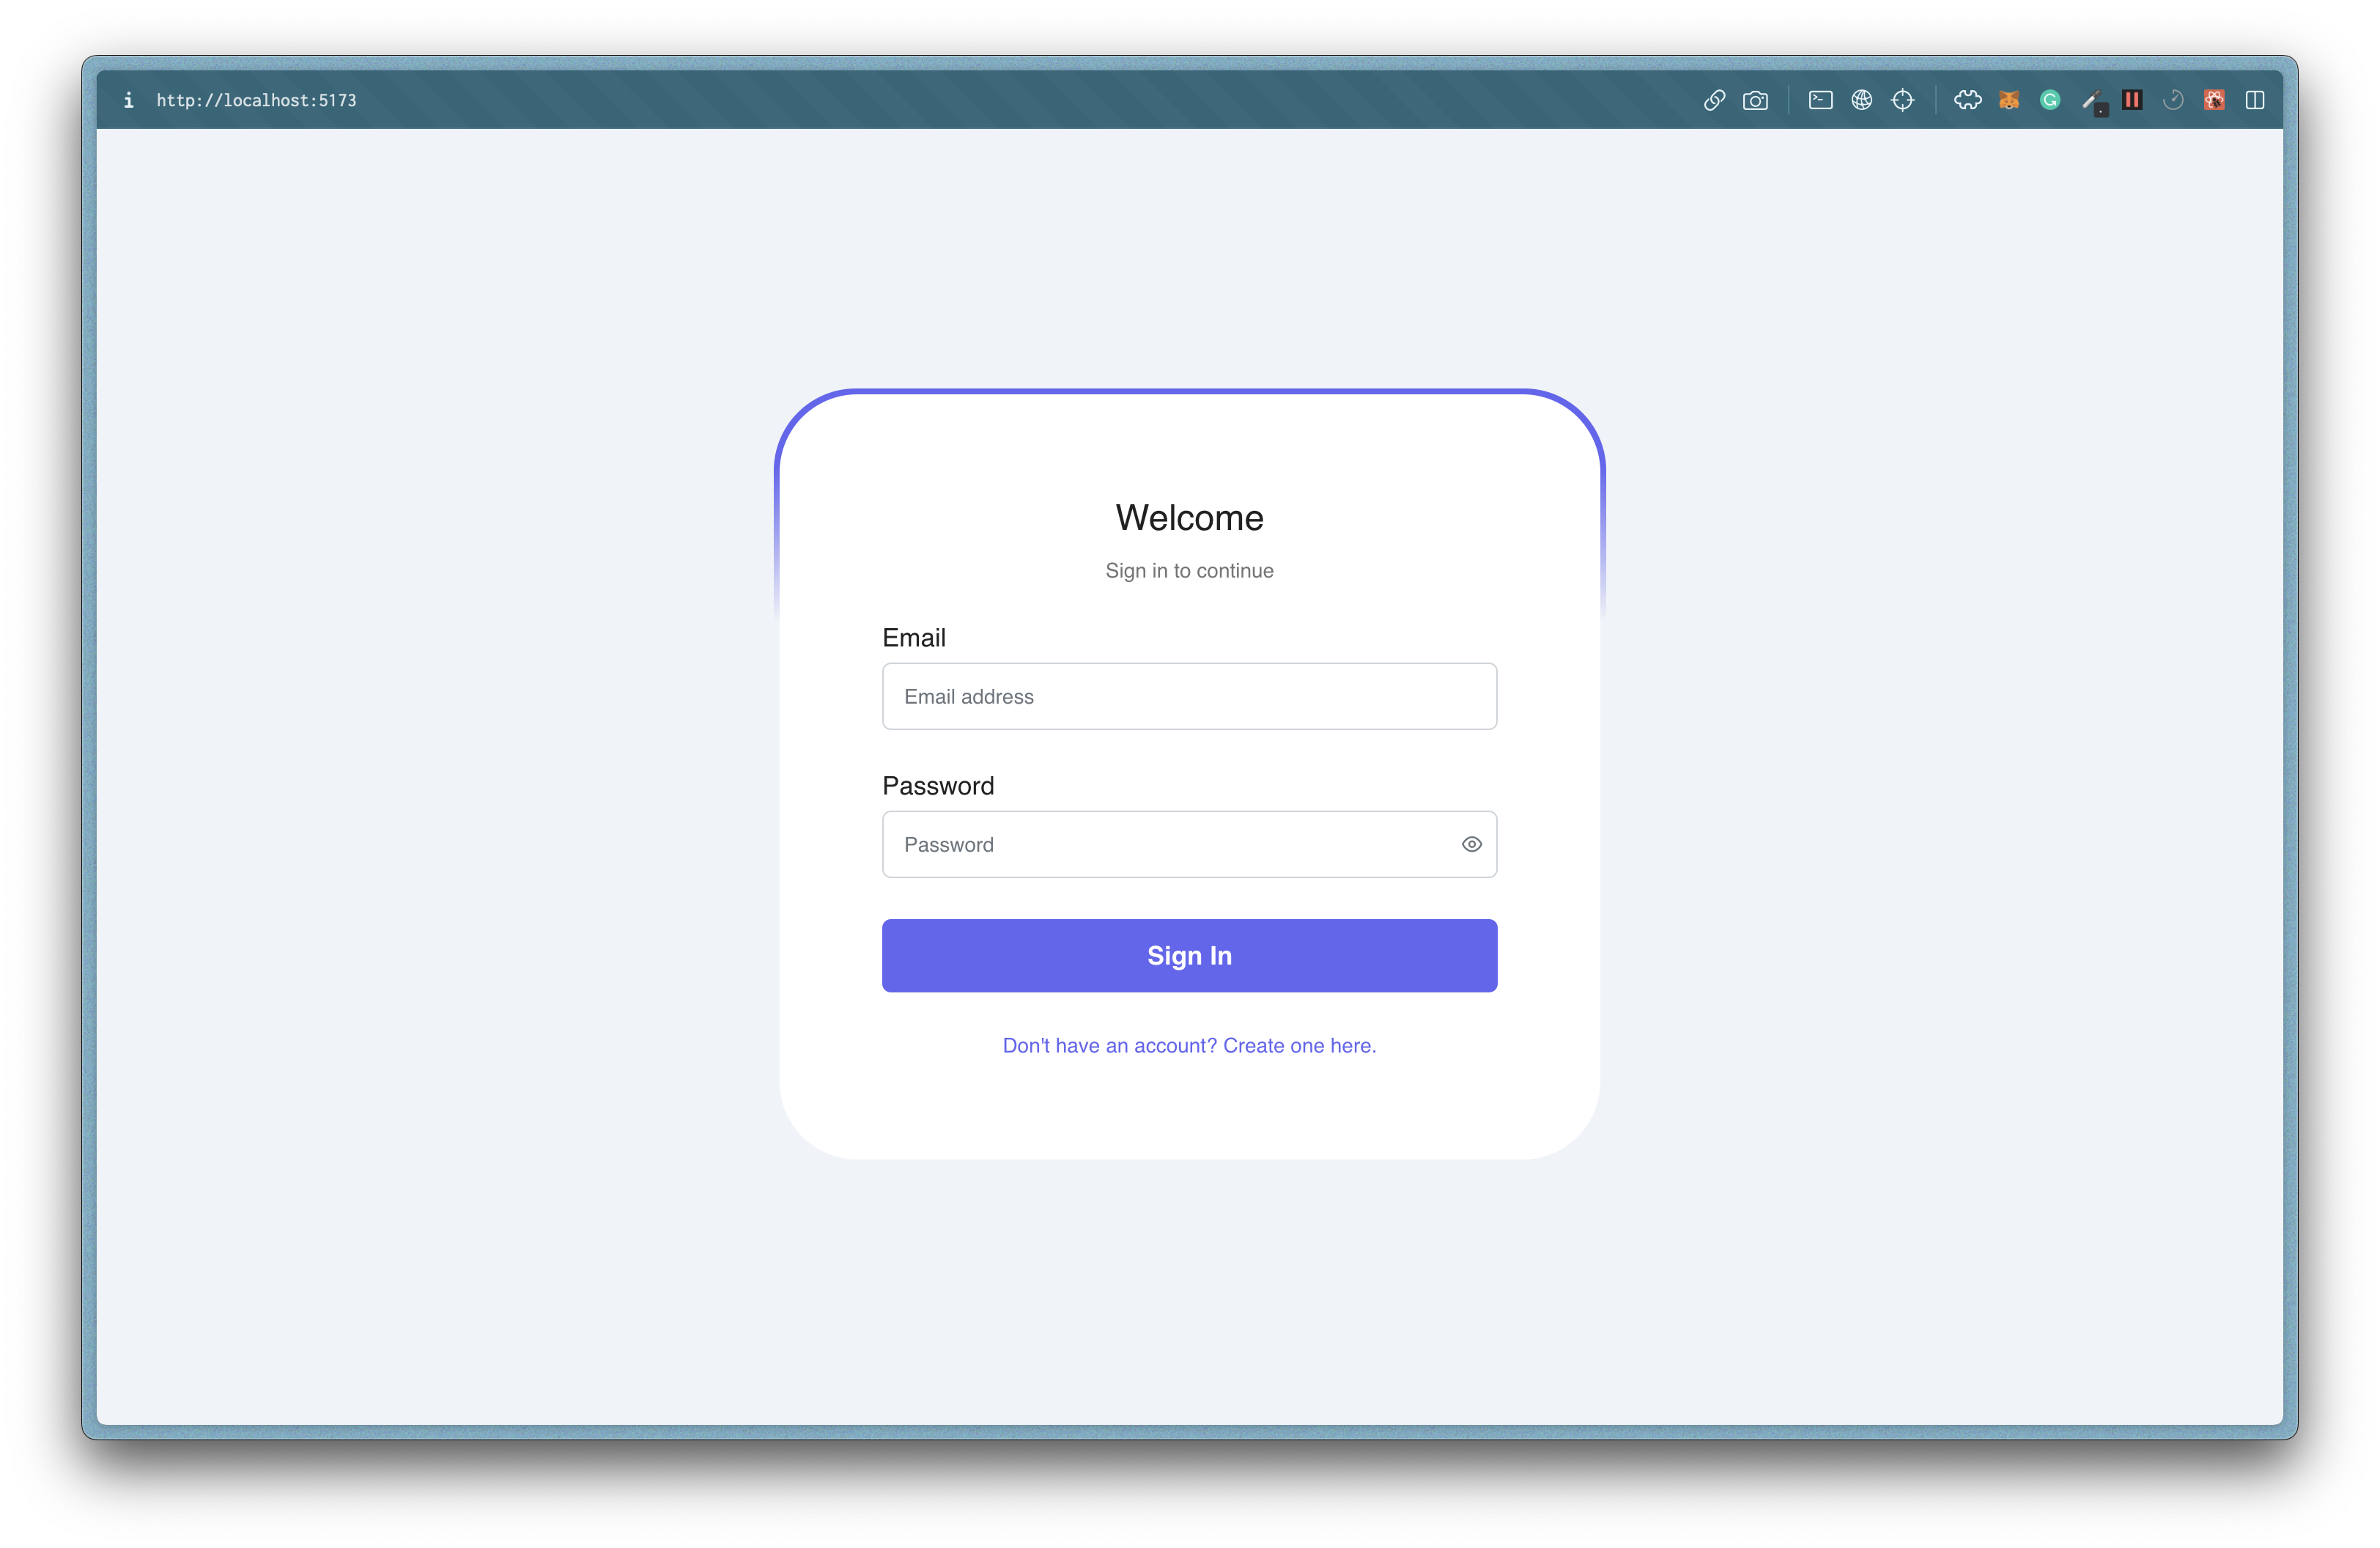
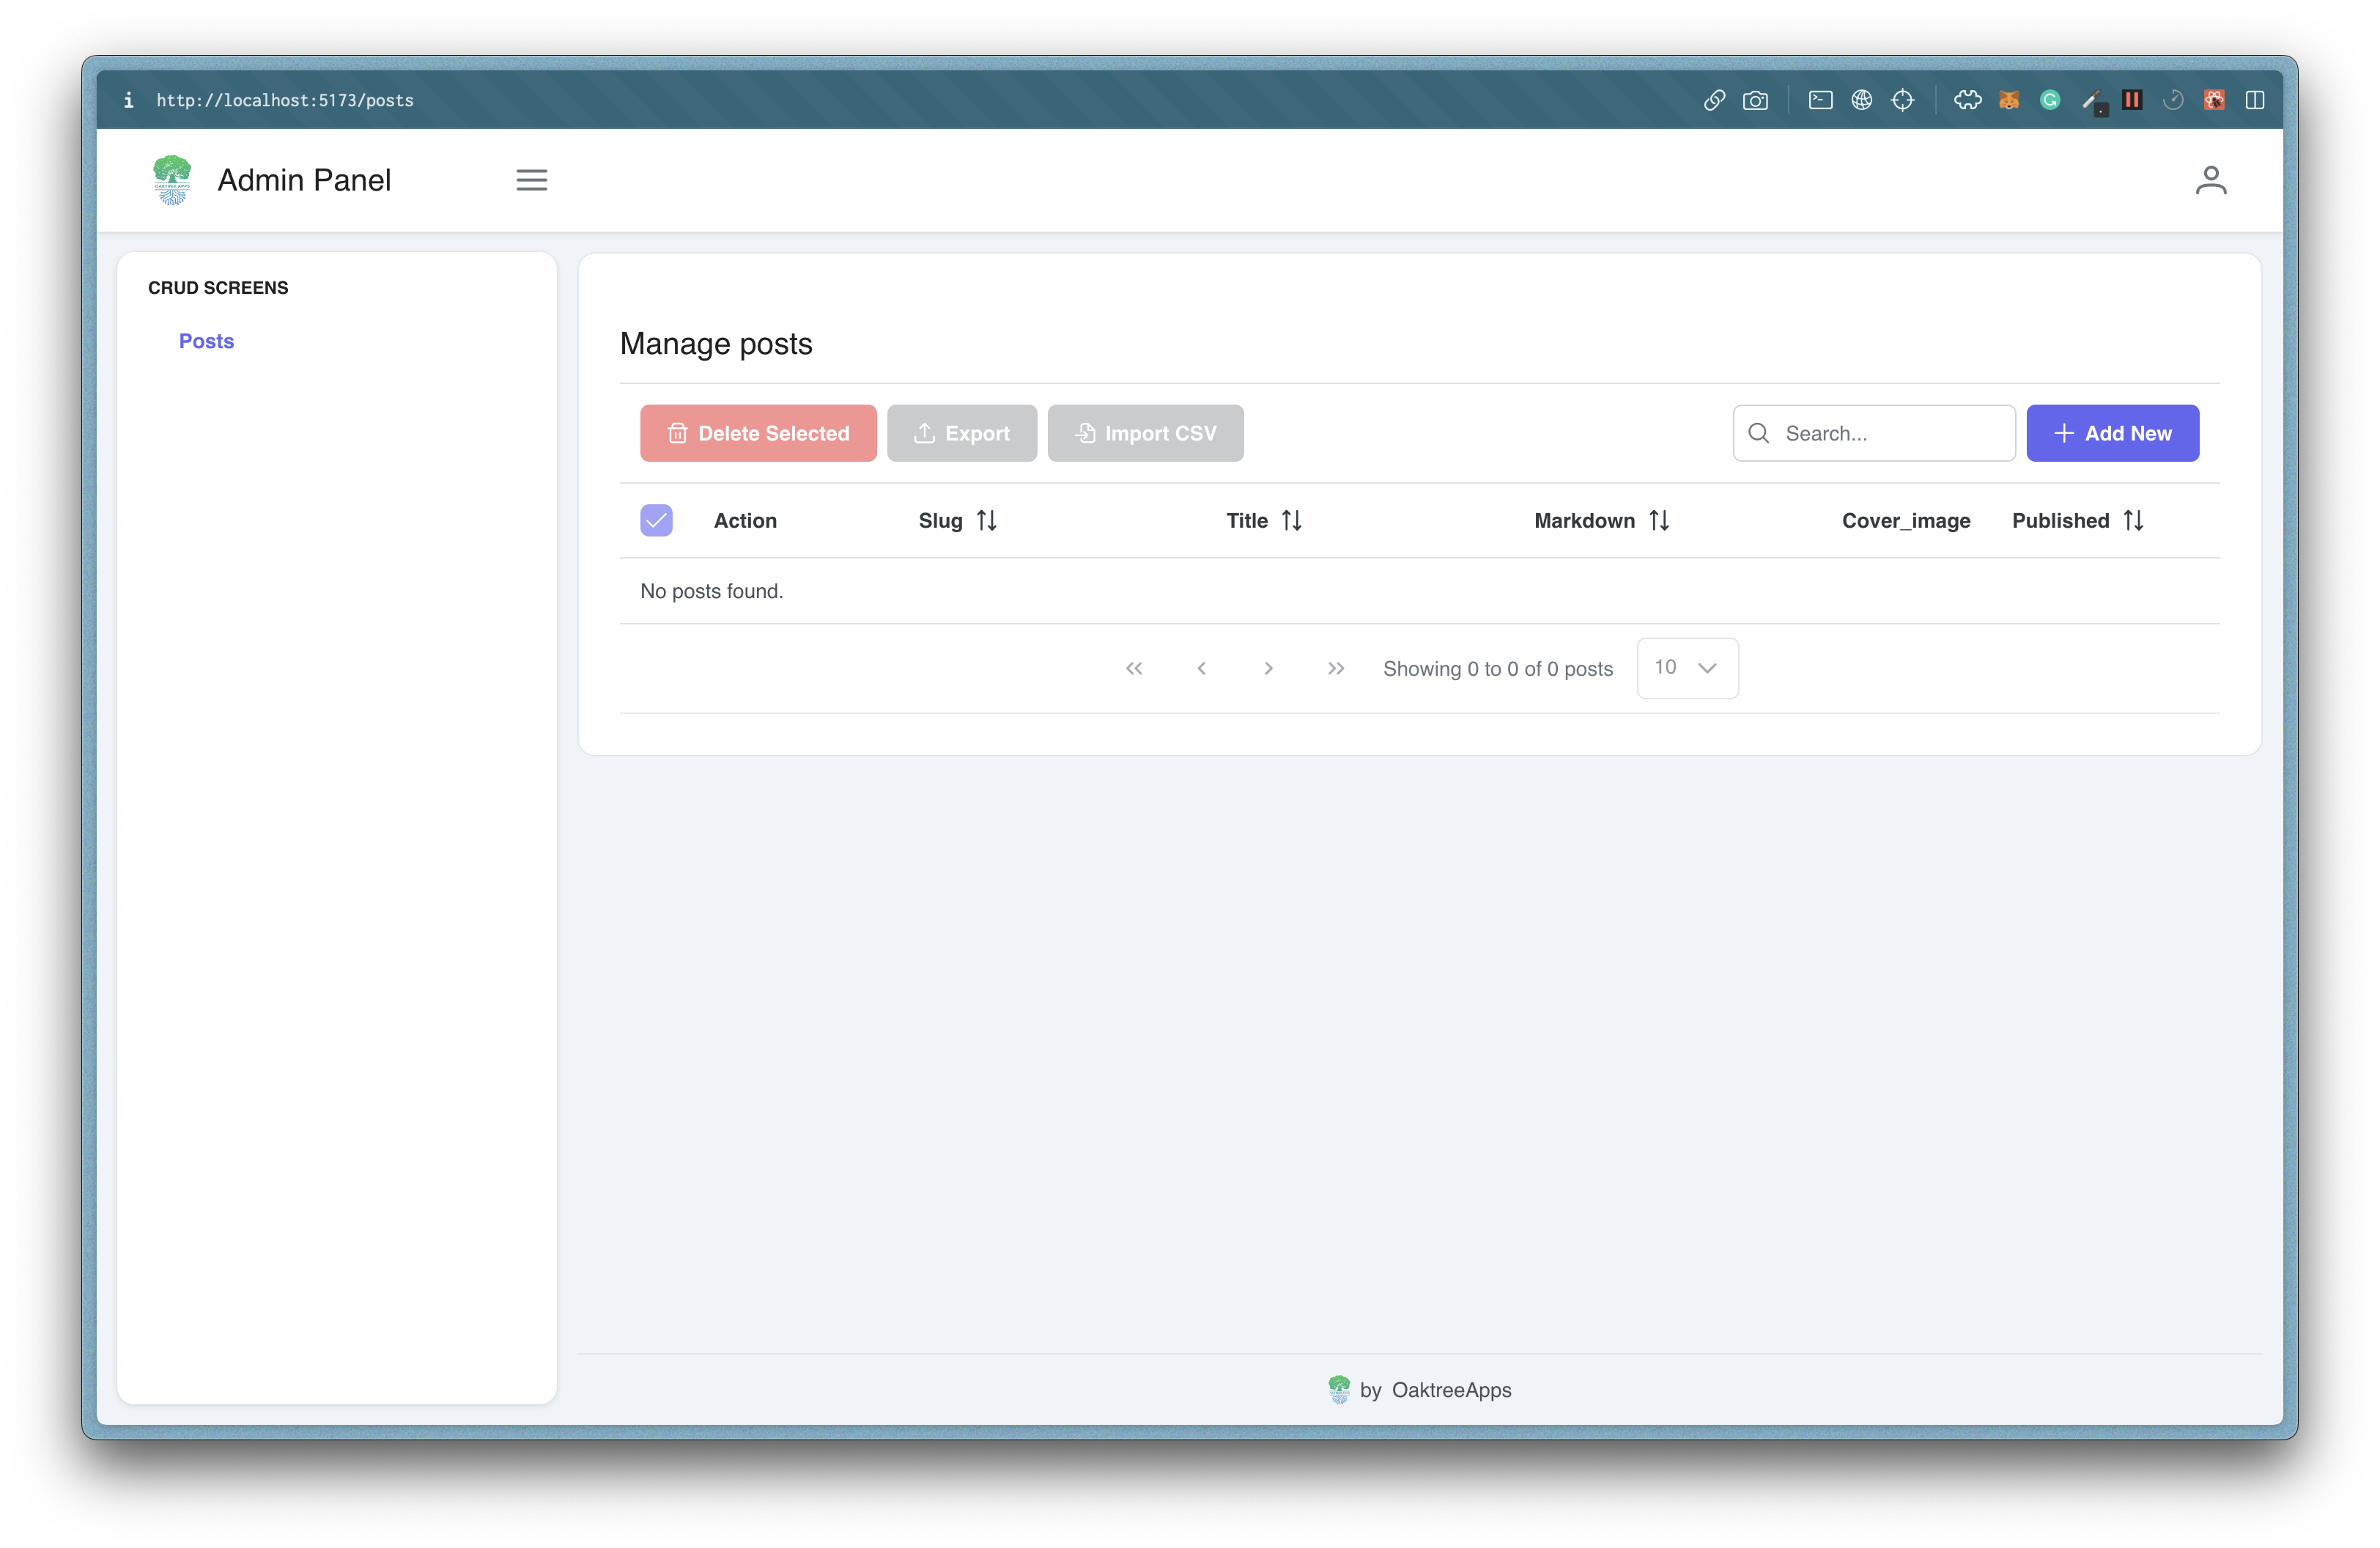
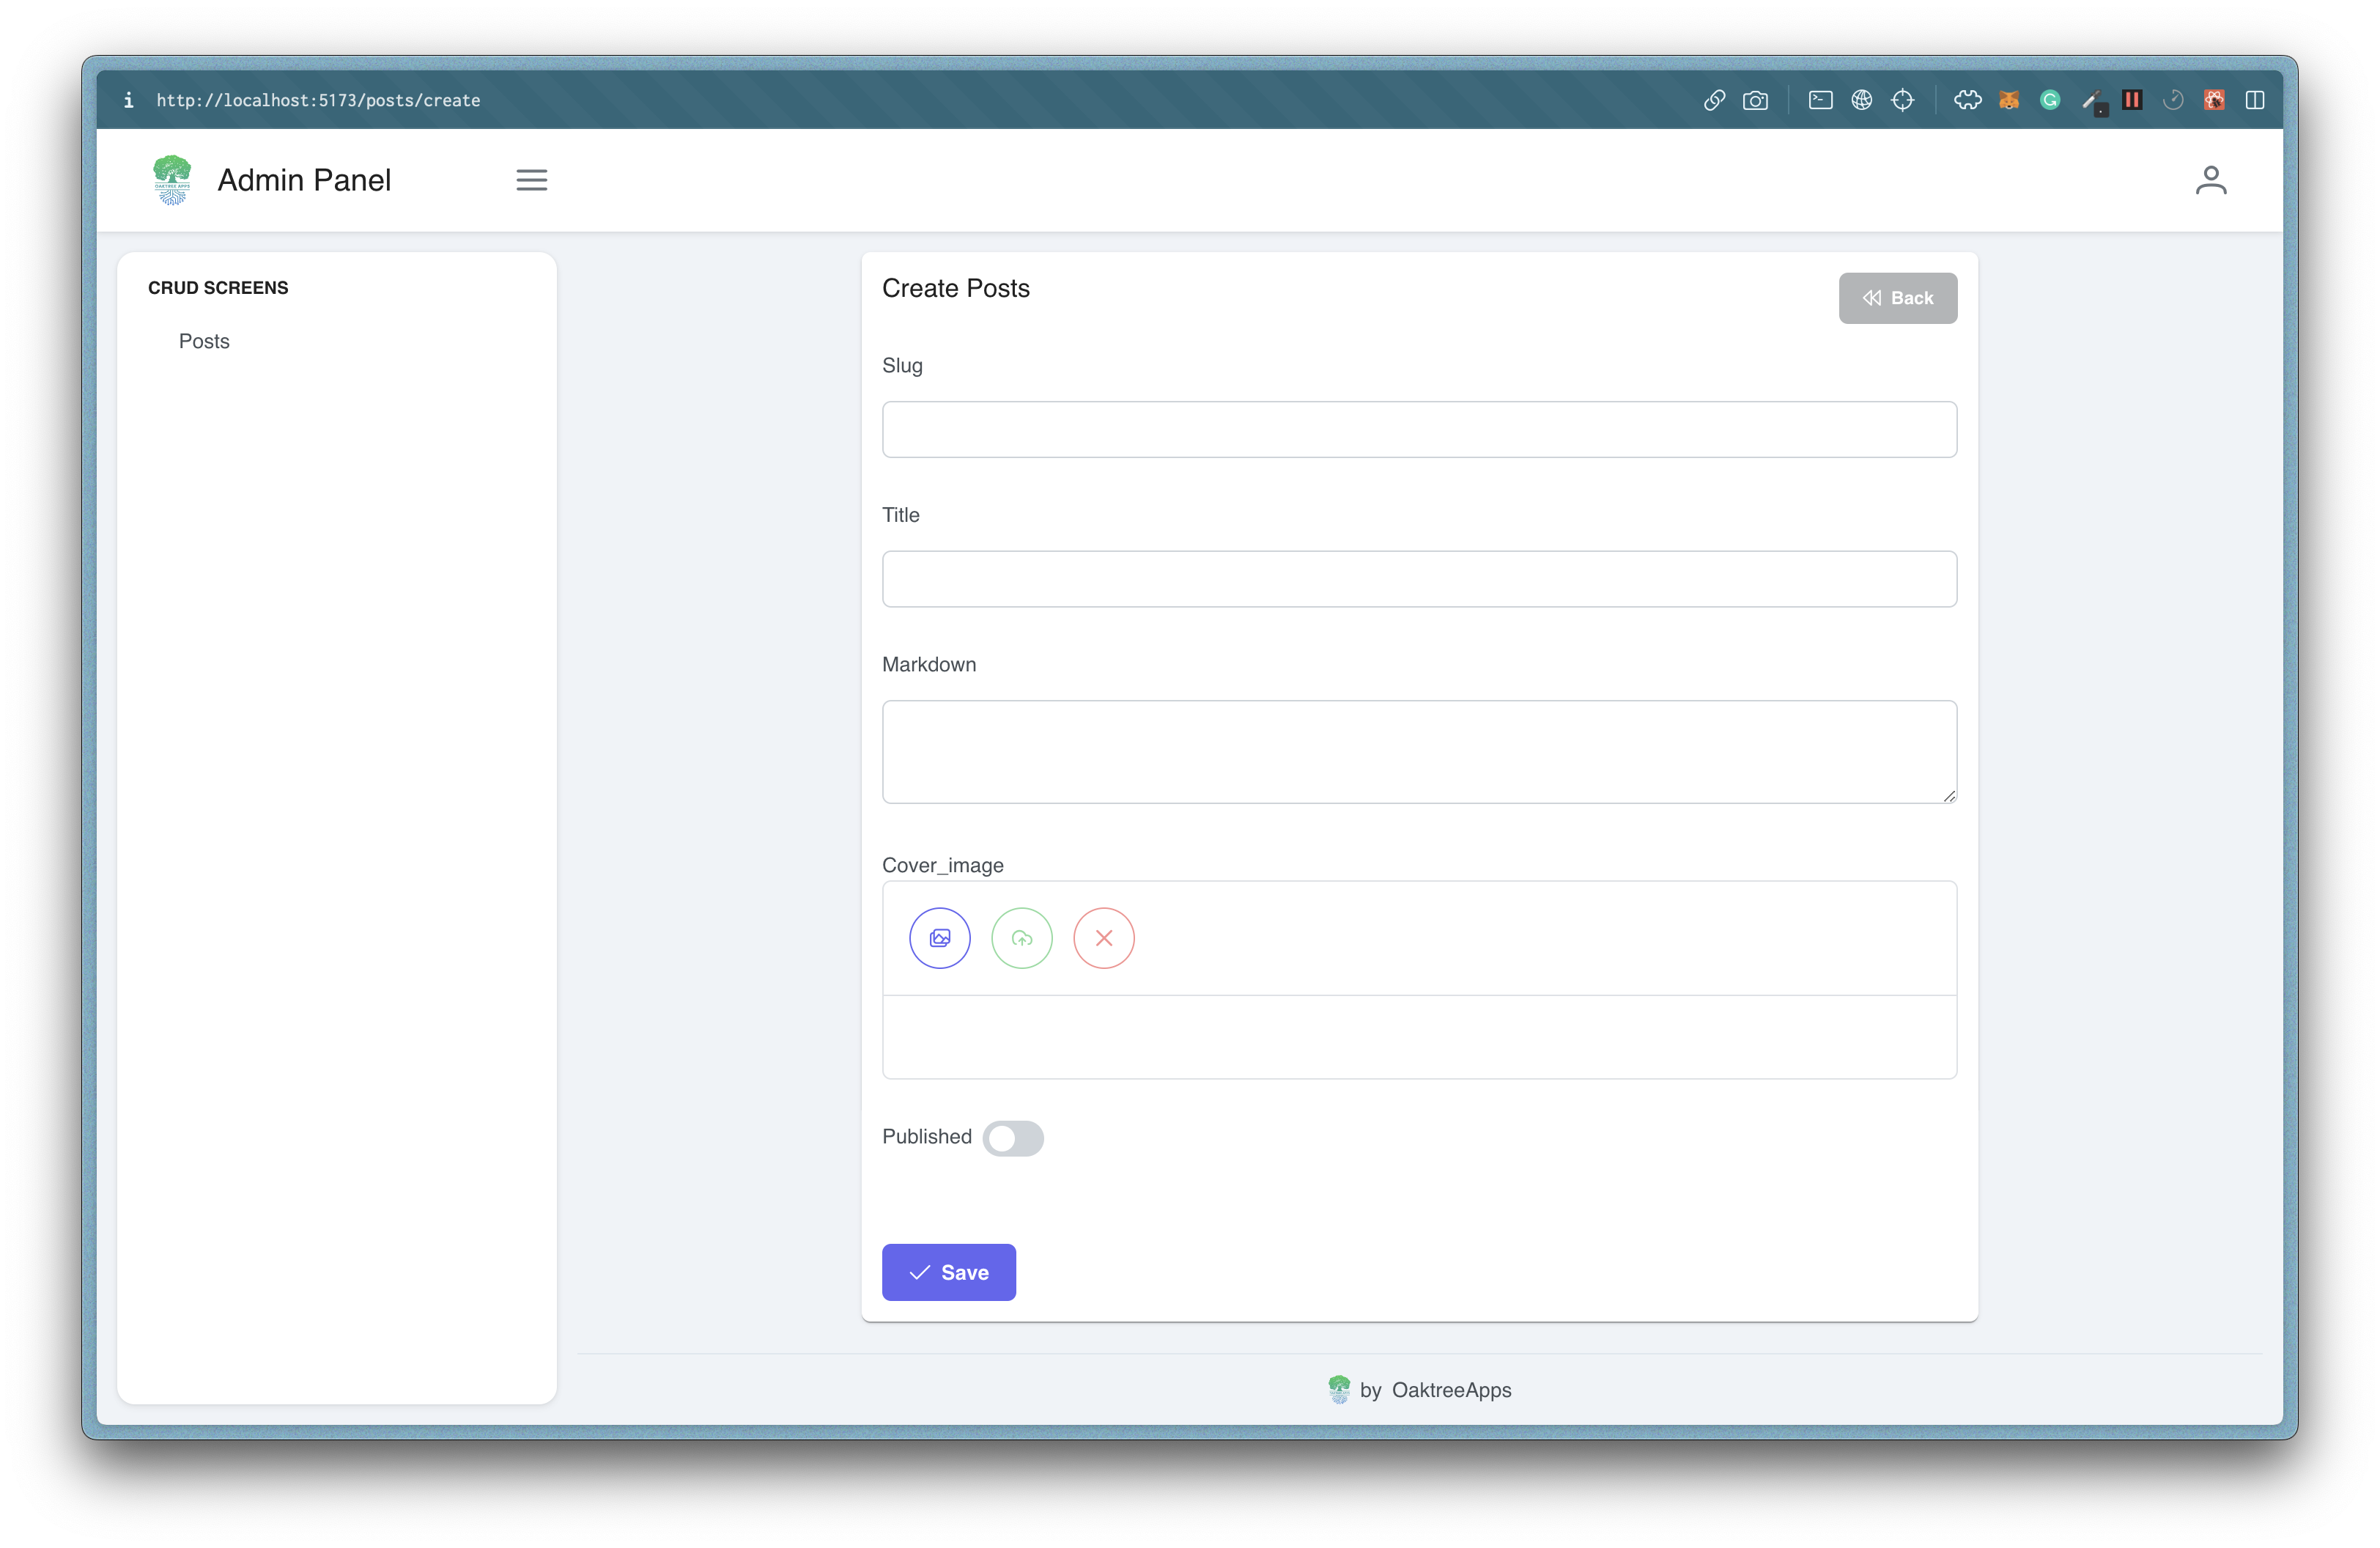
Here’s how our admin panel looks:
The remove command can be used in same fashion:
npx oakadmin remove
npx oakadmin remove --all
And, THAT IS ALL!
We can remove or add individual resources by using add or remove commands and mix & match fields & field types, to spin up an admin panel blazing fast.
Read the project’s README here to get a comprehensive idea of all the CLI commands & the workflow.
Make sure to star our GitHub repository - https://github.com/oaktreeapps/adminpanelcli
Download the NPM package here - https://www.npmjs.com/package/oakadmin